Never had much success doing it this way.
You could try this method.
We have tried various methods of making hypertufa troughs in the past, including covering polystyrene fish boxes. To our mind none of them were particularly successful. The fish box one especially, was a spectacular failure. Our hens removed the hypertufa and ate the polystyrene. We also tried making them in cardboard boxes, but it was difficult to find satisfactory ways of keeping the boxes in shape while the trough was being created and without some sort of reinforcement, the troughs themselves were not very strong. We had a large number of the boxes used by nurseries and garden centres for carrying plants. These were no longer needed so we wondered if it was possible to cover them in hypertufa to create a reasonable size trough.
Since we wanted a fair number of troughs, we decided to make a mould in which to create the trough. This was fairly simply four pieces of wood held together with screws. The size is simple. The internal measurements are about 5 cms. greater than the external dimensions of the plant box.

This box was then lined with plastic, so that the hypertufa would not stick to the wood.

I cut away some of the base of the box to make drainage holes. As you can see, it fits nicely into the mould.
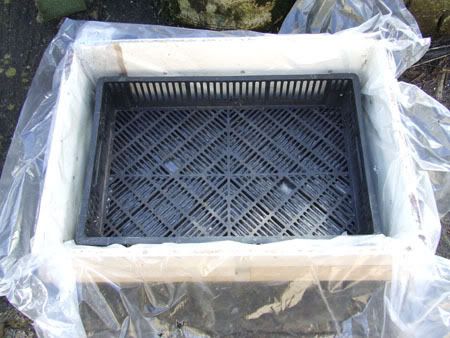
To keep the holes open when the hypertufa is put in I used a couple of pieces of wood. They also act as a guide to the depth of the base.
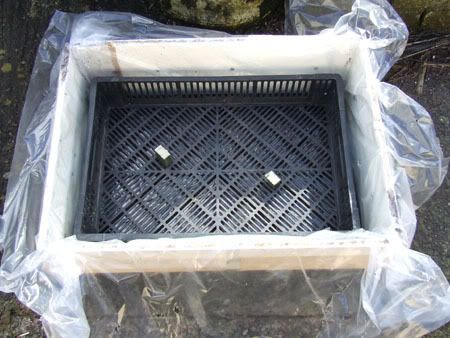
Now I was ready to begin. The equipment need is fairly basic. Since the ingredients are measured by volume, a container is used for accuracy. Gloves are very important. Cement is strongly alkaline and can cause serious skin problems.

The mixture I used is the fairly standard one of two parts composted bark to one part sharp sand to one part cement. I sifted the bark first to remove and large pieces.
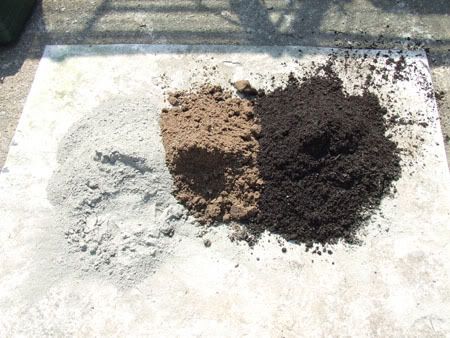
They need to be thoroughly mixed before adding water.

The wet mix should not be too wet. In cookery terms it would be best described as ‘stiff peak’.

Before placing the plant box in the mould a 1 cm. layer of hypertufa was spread over the whole surface. Then the box was put on top and pressed down. The pieces of wood are next pressed into the holes and a 2 cms. layer of the mixture spread roughly over the base.

This layer is then smoothed out, taking care not to dislodge the wooden plugs.
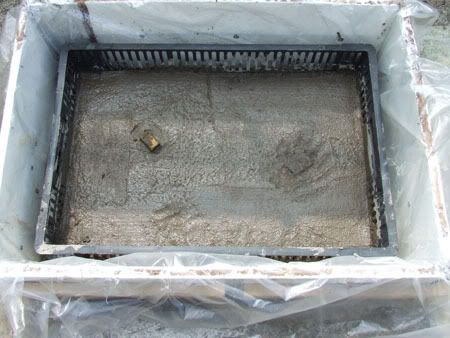
Next the mixture is forced down the sides and tamped down using a piece of wood. It is important make sure that there are no empty spaces left. The pressure forces some of the mixture through the slits in the side of the trough. The trowel and the float are used to create a clean inside. The level of the material at the top is slightly higher than the box, so that all of the box is encased in hypertufa.
There is no need to be too fussy about the smoothness of the finish.

Finally the whole thing is covered with sacks. The idea is to let it dry out slowly, If it dries too quickly then the hypertufa can crack.
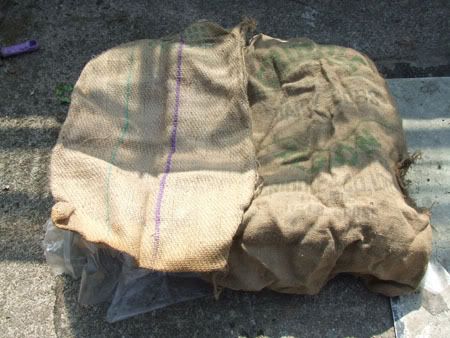
Once dry the mould can be removed and the trough left to dry out more before moving to its final position.
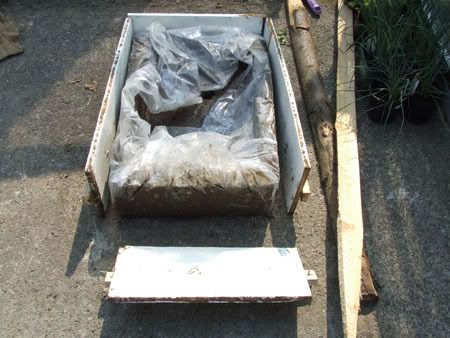

To get rid of the shiny surface left from contact with the plastic and to remove any loose or unwanted pieces, a wire brush may be used to go over the surface.
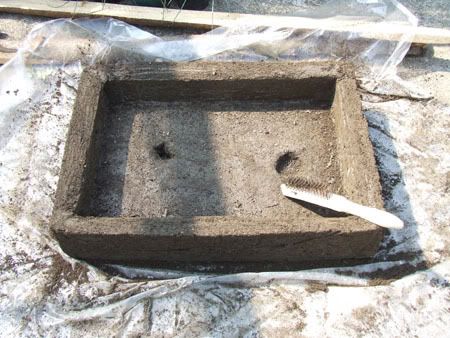
The trough may then be left to further dry out. Then comes the exciting part. planting it up!